How to Wrap a Box
10 minutesEasy
Gather Supplies
Everything you need before you start
Wrapping paper — One sheet large enough for your box
Scissors — Sharp for clean cuts
Clear tape — Double-sided tape for a seamless look
Ribbon (optional) — For the finishing touch
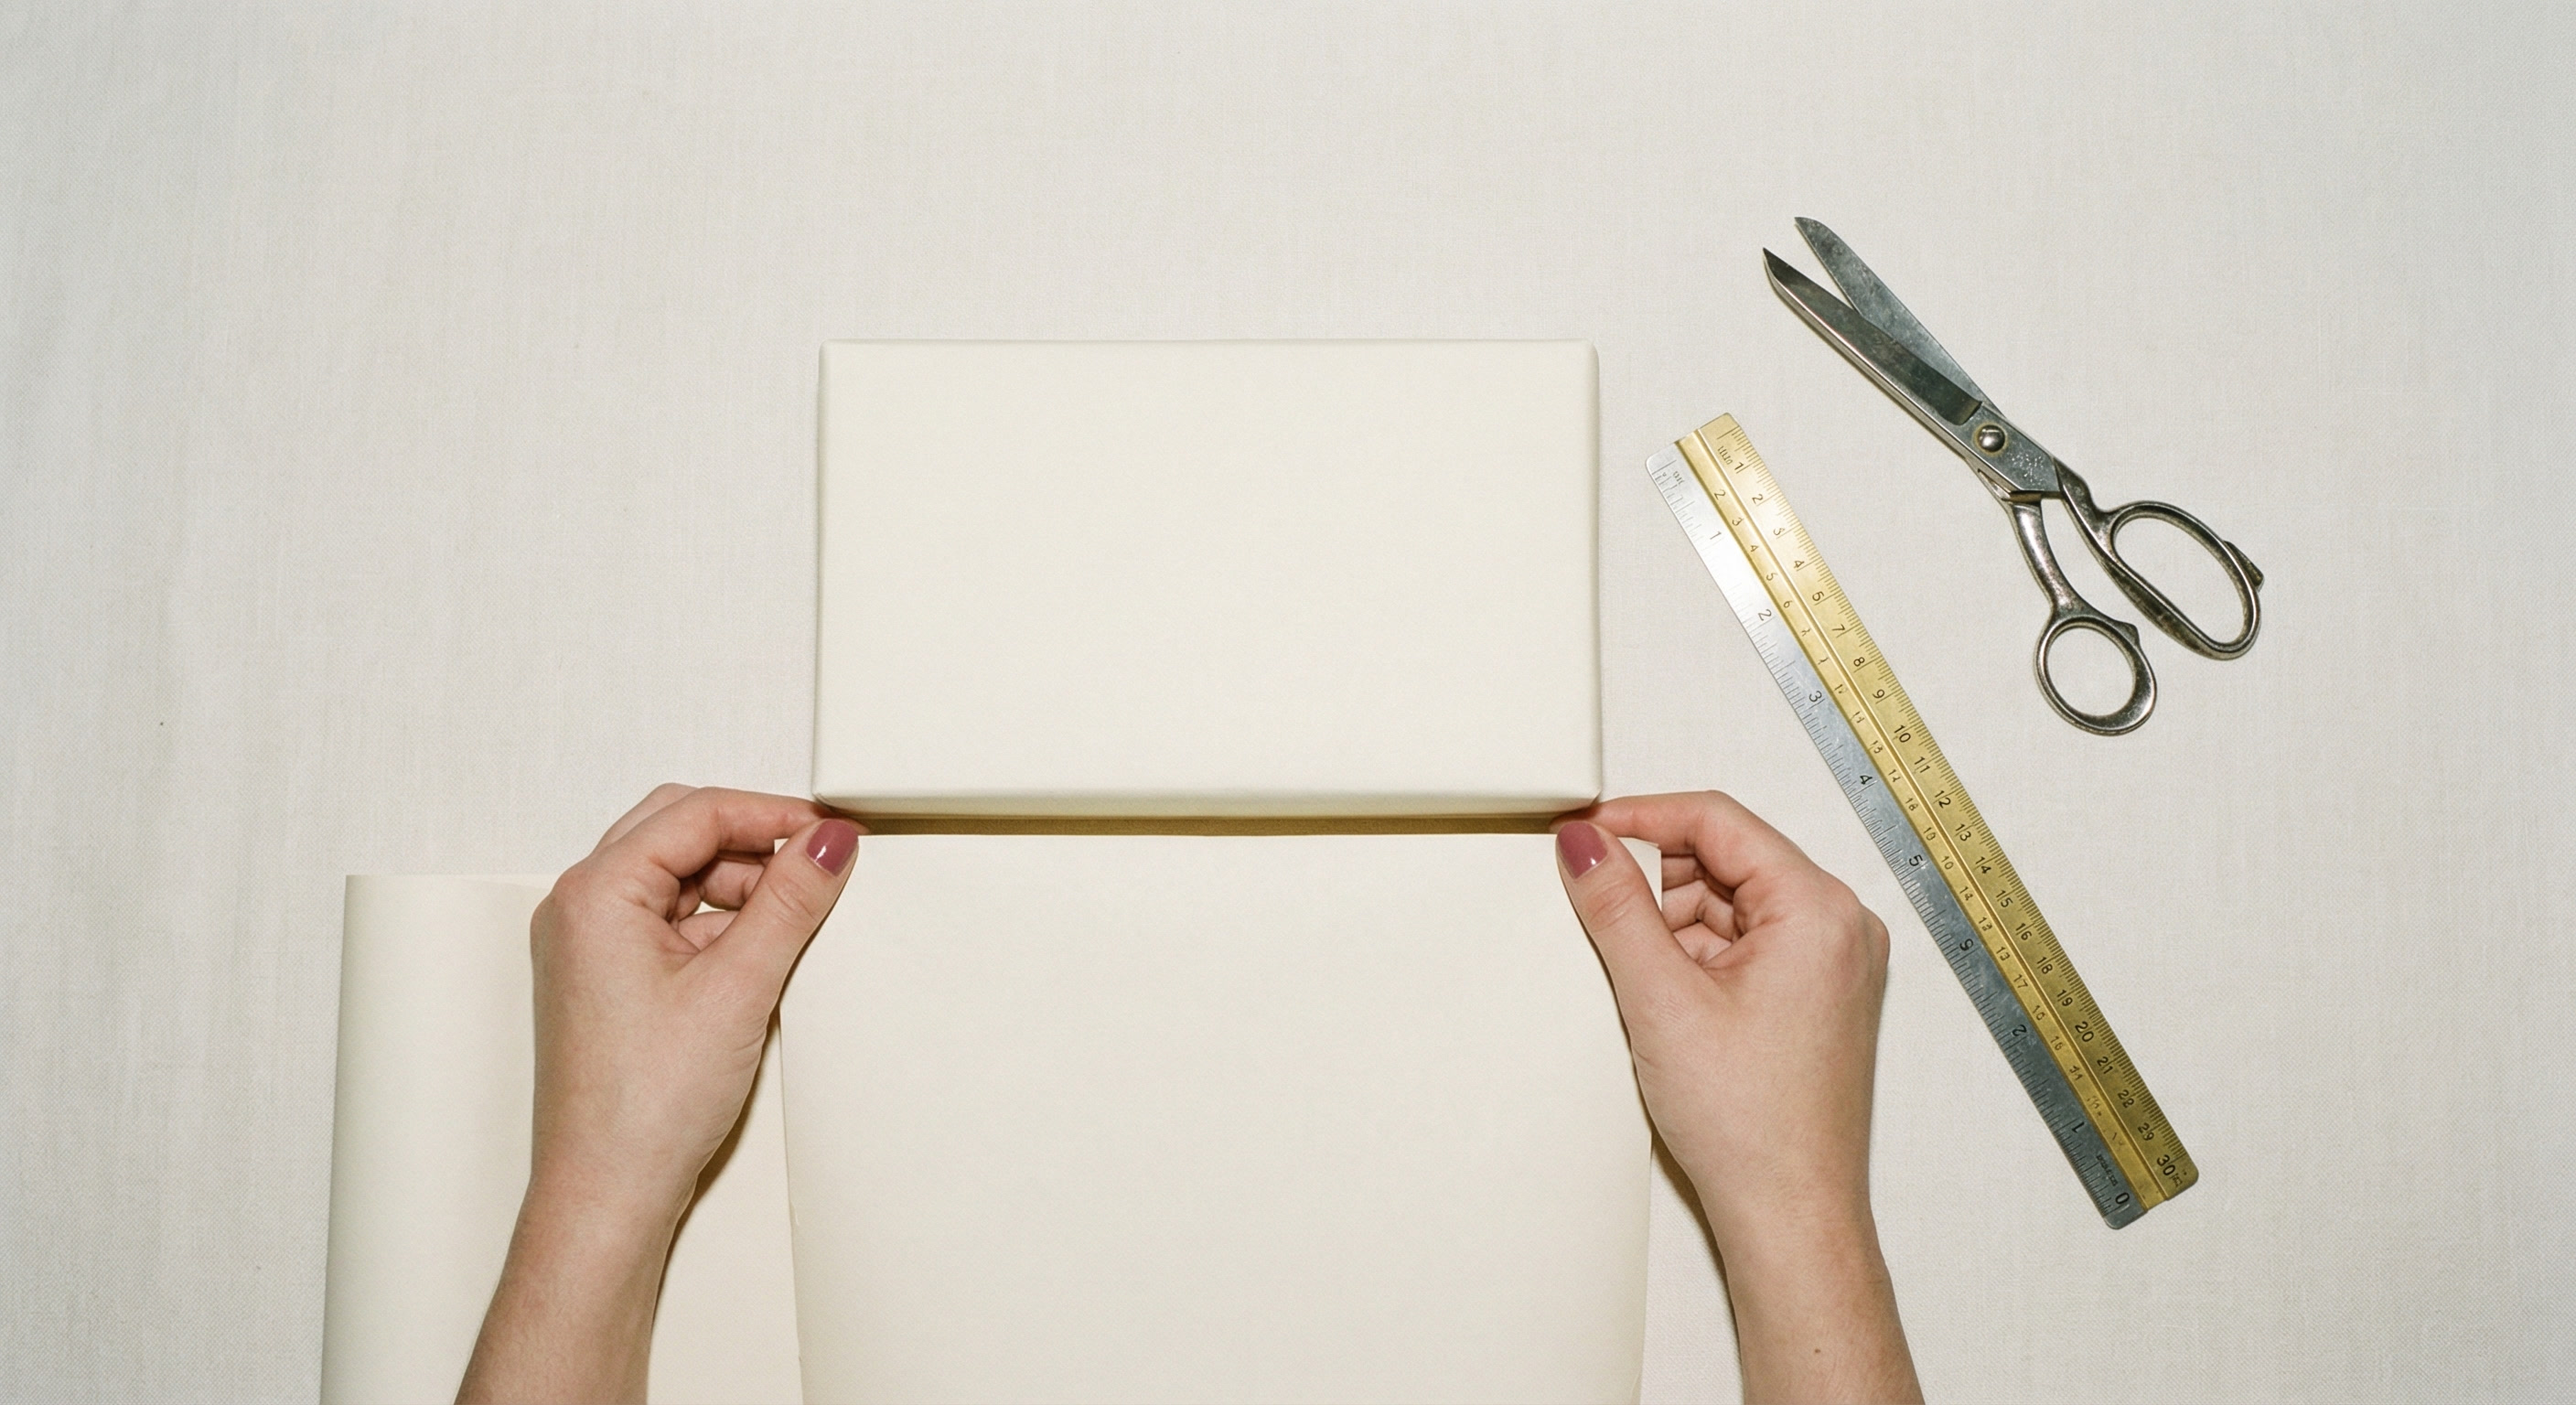
Measure & Cut Paper
Get the right amount the first time
The Measurement Formula
Width = Box circumference + 3" overlap
Length = Box length + (Box height × 2) + 4"
For a standard shoe box (14" × 8" × 5"), you'd need roughly 29" × 24" of paper.
- Unroll the wrapping paper face-down on a flat surface
- Place the box on the paper and roll it to check you have enough to go all the way around with overlap
- Check that both ends have enough paper to fold over (at least the height of the box plus 2 inches)
- Mark and cut in a straight line
Common Mistake
Position the Box
Set up for clean folds
- Lay the wrapping paper face-down (pattern side down) on a clean, flat surface
- Place the box face-down in the center of the paper so the seam will be on the bottom
- Center the box so there's equal paper on the left and right sides
- For patterned paper, make sure the design is oriented correctly before you commit
Pro Tip
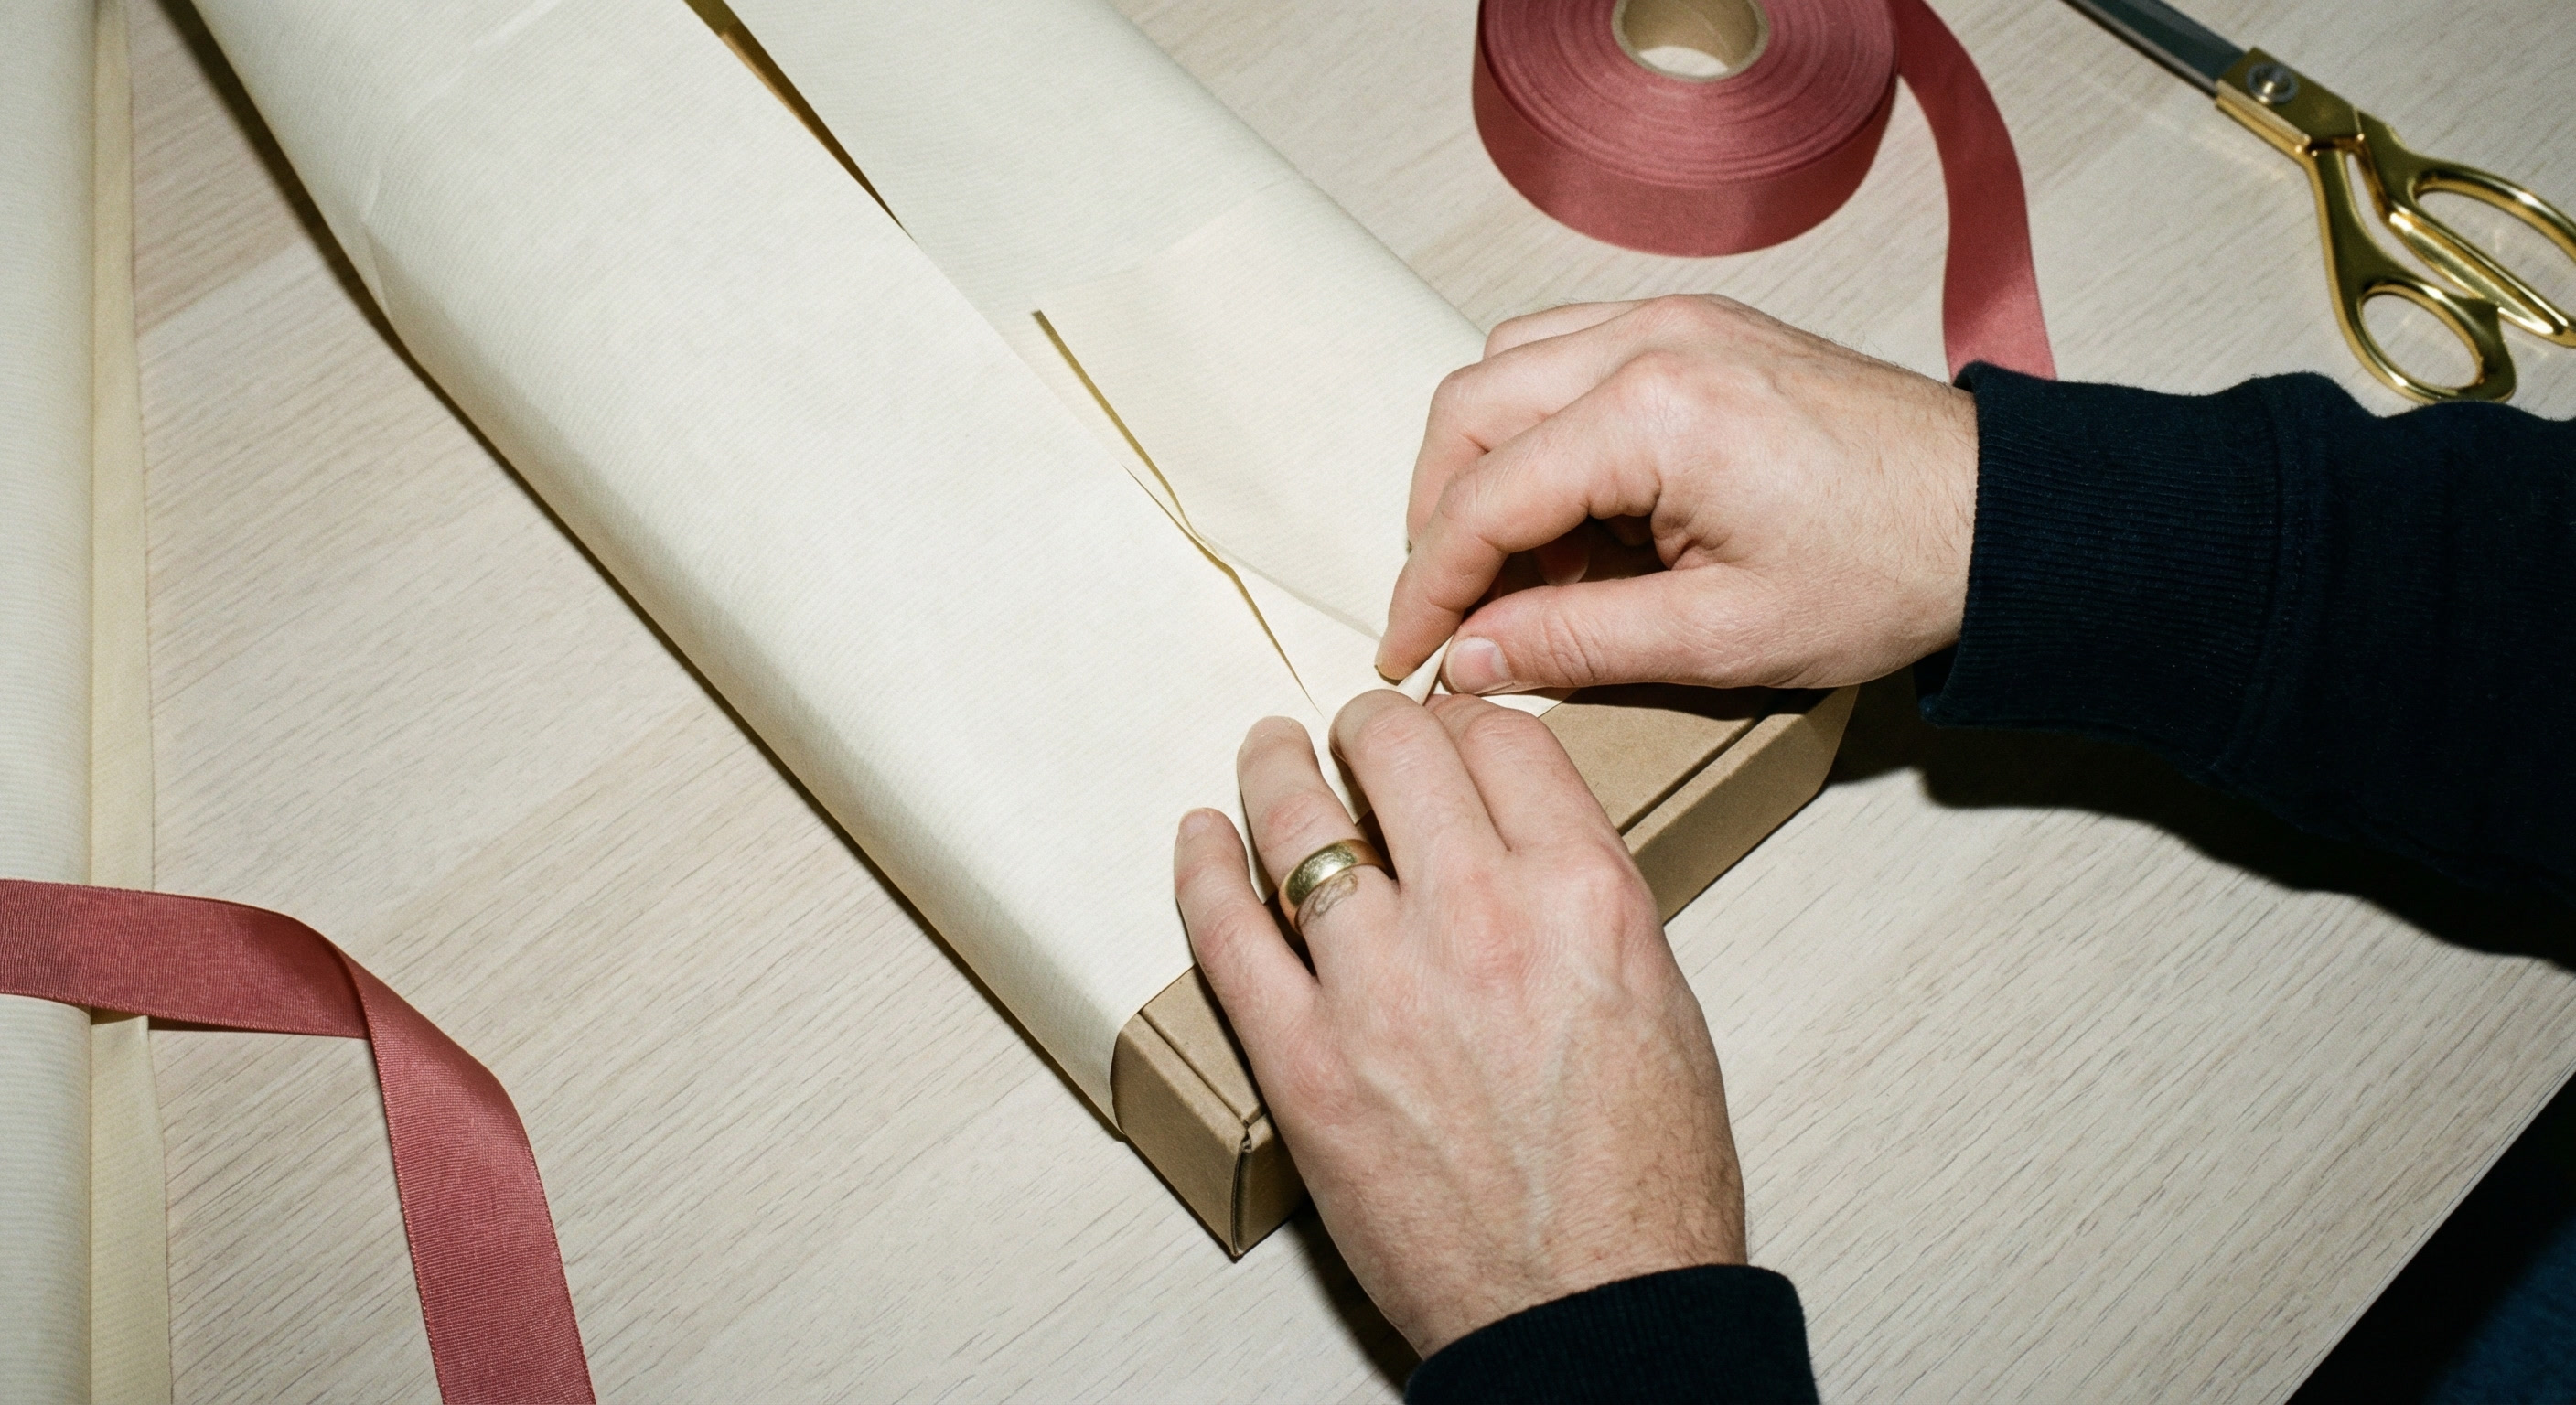
Wrap the Length
Secure the main body of the wrap
- Pull one long edge of paper up and over the box — It should reach past the center of the box by about an inch
- Tape that edge to the box — One piece of tape in the center holds it while you work
- Fold the opposite edge under by half an inch for a clean line — This creates a finished edge that overlaps neatly
- Pull the folded edge over to overlap the first side — Tape along the entire seam
Pro Tip
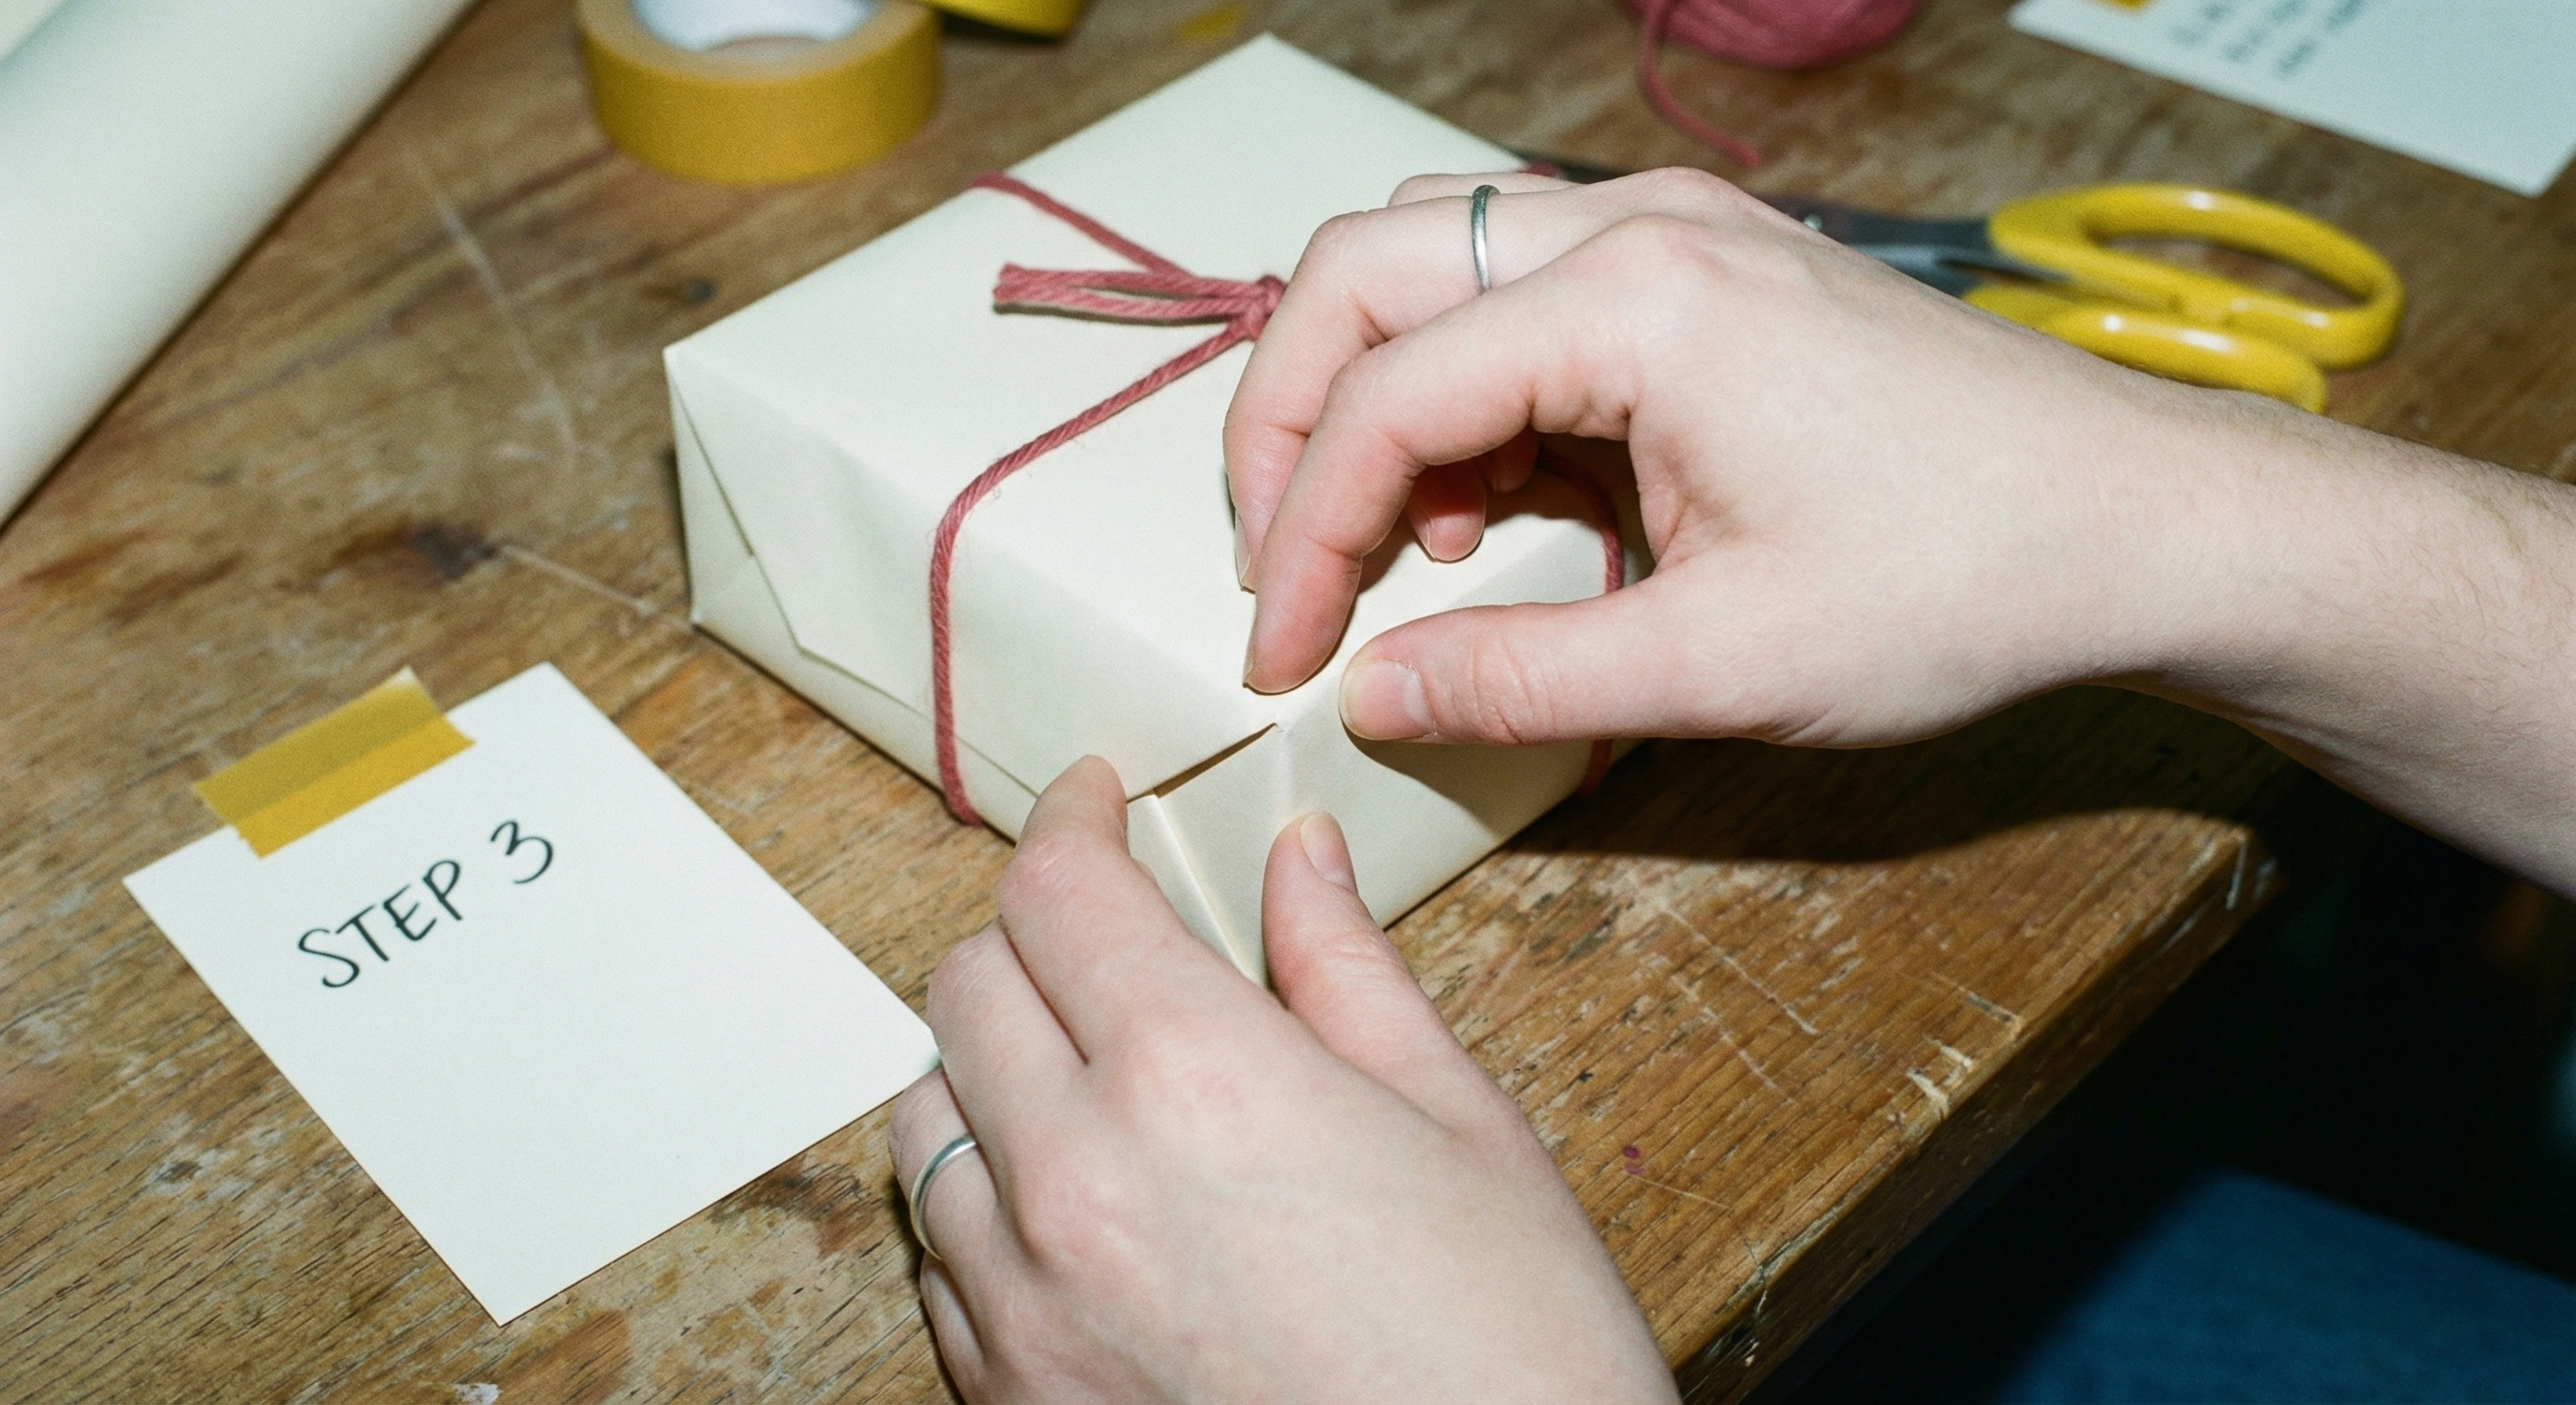
Fold the Ends
The triangle-fold method for crisp corners
For each end of the box:
- Push the top flap down against the end of the box and crease along the edge
- Fold the two side flaps inward—they'll naturally form triangles as you press them flat against the box
- Crease those triangles sharply with your fingernail
- Fold the bottom flap up and over the triangles
- Tape where the bottom flap meets the box
Common Mistake
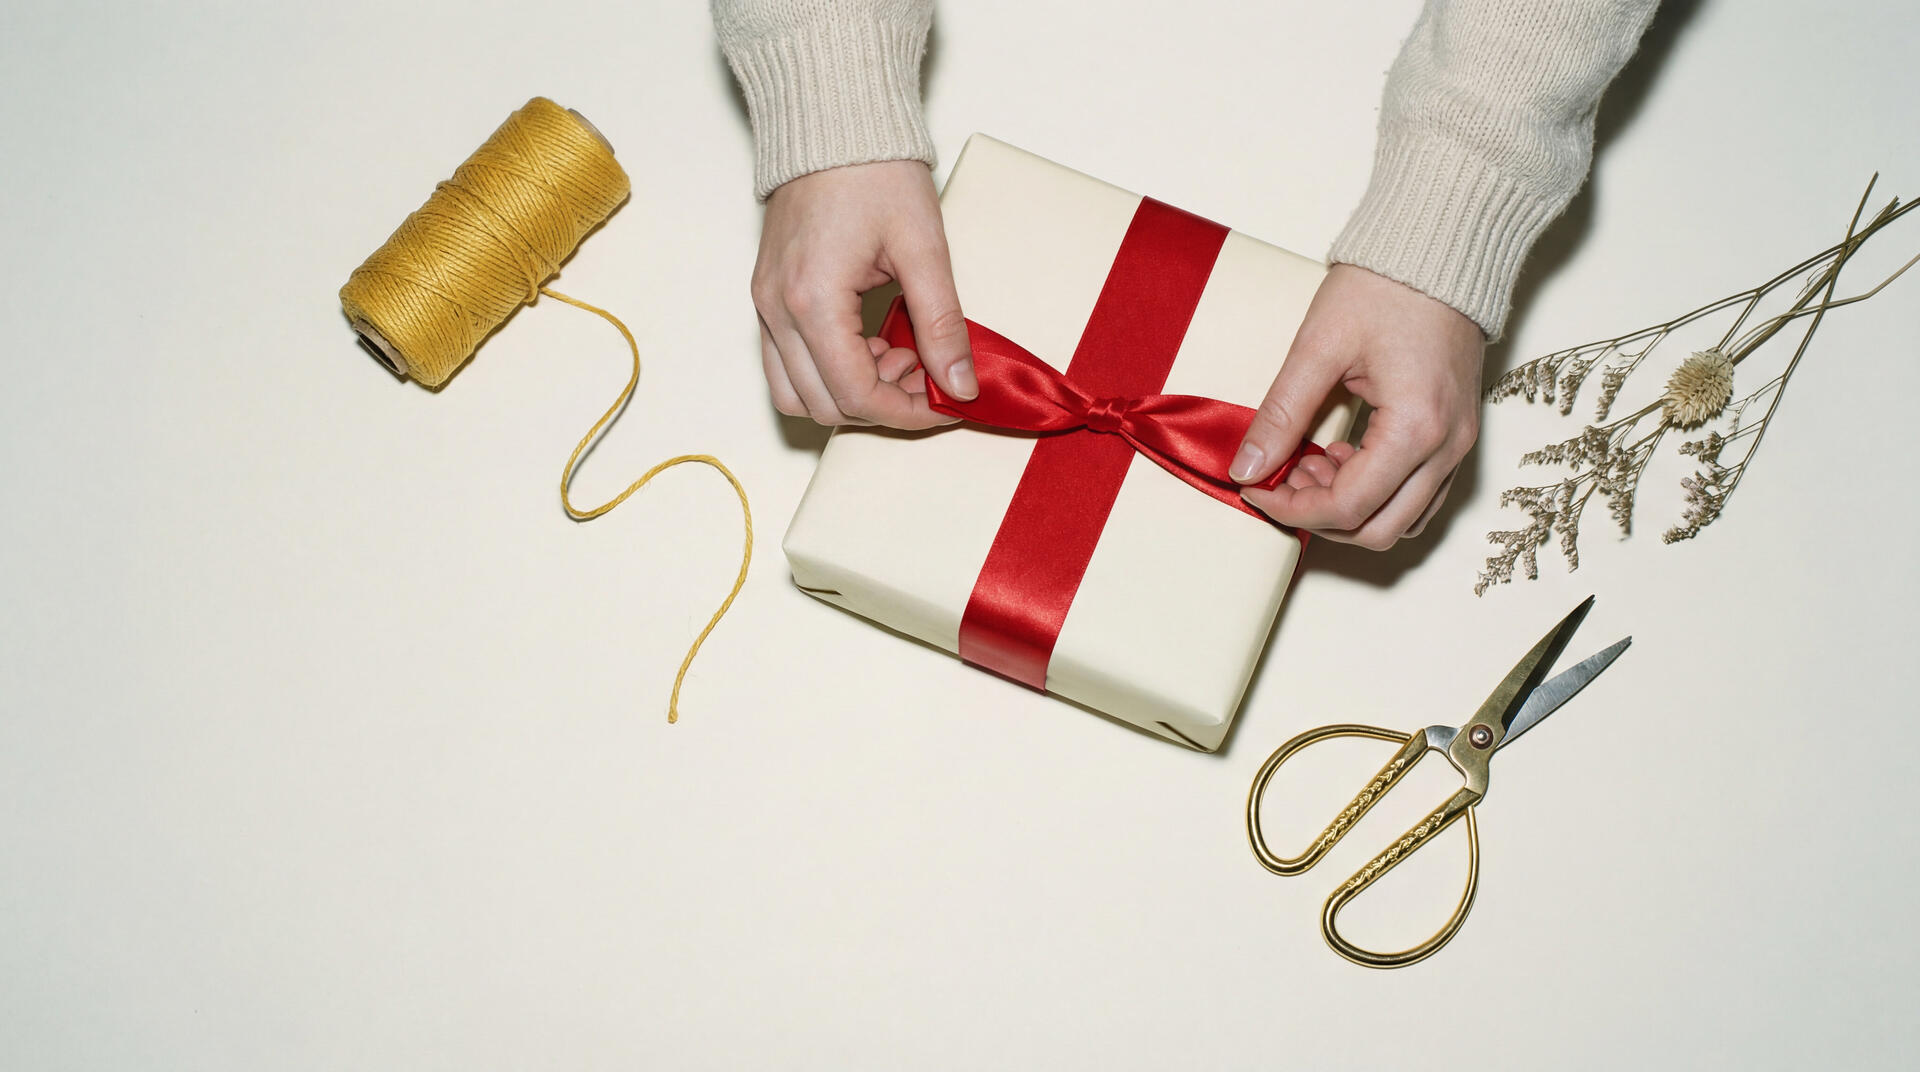
Finish & Decorate
Add ribbon, bows, or tags
- Check all seams are taped securely
- Flip the box over so the clean side faces up
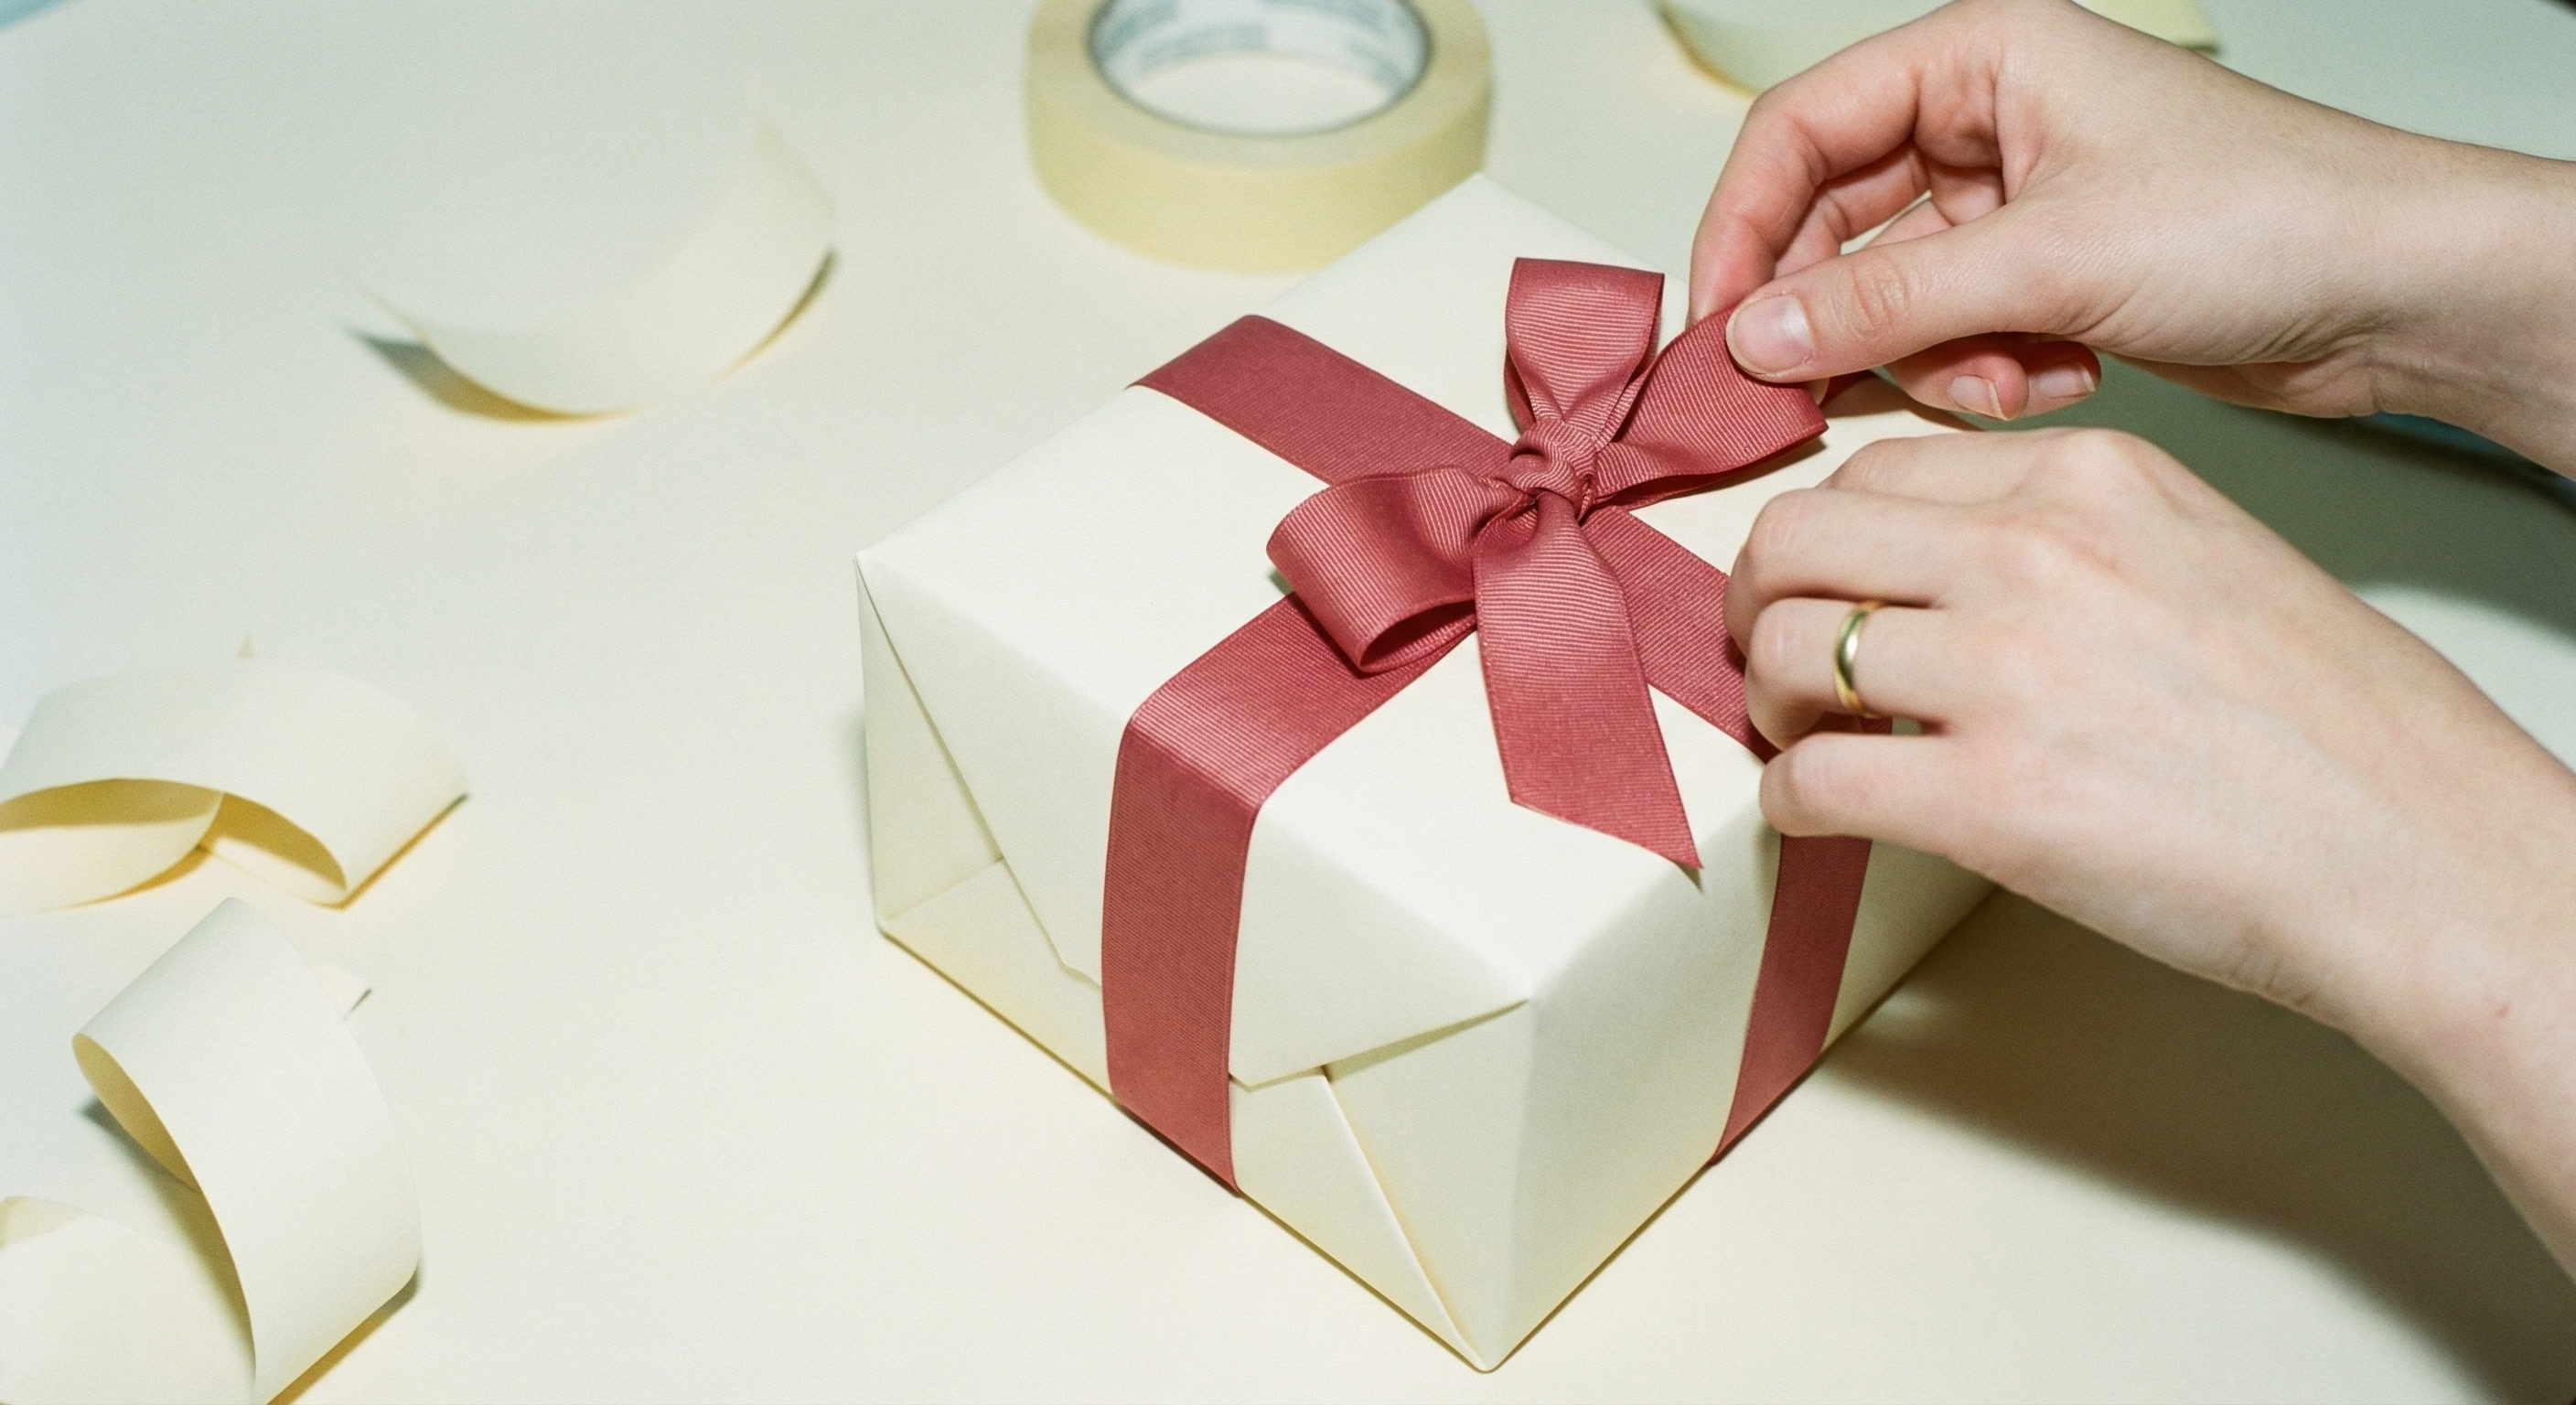
- Add ribbon in a cross pattern: under the box, up both sides, tie on top
- Tie a bow or attach a pre-made one
- Add a gift tag or personal touch
Pro Tip
Box Wrapping by Size
Small Boxes
Jewelry boxes, gift card boxes. Cut paper precisely—excess bulk shows on small packages. Use double-sided tape for clean lines.
Medium Boxes
Shoe boxes, clothing boxes. The sweet spot. Standard wrapping paper rolls are sized for these. Follow the steps above exactly.
Large Boxes
Appliance boxes, moving boxes. You may need to tape two sheets together. Work on the floor and have a helper hold the paper taut.